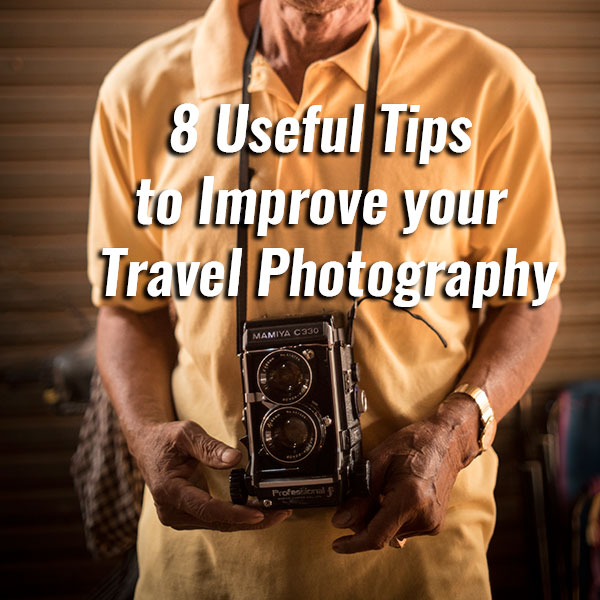
Preparation
1. Online scouting
Few years back, it is would be very difficult thing to do but thanks to the new technologies, there is a lot you can do prepare before leaving for your trip. Google Maps and google streets are an invaluable resources you can use. I would recommend to install the Google Maps app and not using the browser version. From the app you can switch between map, satellite and terrain views. Terrain view is actually very useful to have an idea of the topography as even 100 meters high hills are visible. What best tool to find new point of view. By combining these information with tools like TPE (The Photographer’s Ephemeris) you can have a have a very good guess on what to expect on location.
It is more challenging to find the best photography spots online however some photographer blogs can be useful. Few websites (with associated app) do exist like Shothotspot and Locationscount but they will give you a rough idea of the shooting locations at best.As far as Instagram concerned, you can do a research by tag and if you are lucky can find a picture with more geographical information.
2. Get acquainted with the the culture and language
Speaking few words of the local language can make a big difference in your pictures. Do also some research on the dos and dont before you fly to a new location. For language, some apps about language can be useful as well as google translate.
On location
3. Buy a sim card
These days do not bother using the roaming service from your provider it will be very expensive. It is much cheaper to buy a local sim card once you arrive in your country of distance. Many propose now 4G package with several Gb of data. Your smarphone will be your tool to get on google map and of course share your favorite picture in real time.
4. Interact with people
Being genuinely interested by the activities of the people you try to photography certainly help. You might be able to take picture of the after a good talk or after sharing a cup of coffee or tea so you have to be patient as well.
5. Use prime lens and/or wide angle lens
That are several benefits about ditching your heavy zoom lens for travel photography. If you are using a 70-200 mm 2.8 which is a very good quality lens you will happy if you do not carry out all day. A big lens is also very visible and can intimidating make photography in markets challenging for example. You will loose the interaction with your subject which can make the picture more interesting.
Using a 20, 35 mm or 50 mm prime lens (on a full frame) if you are into portrait. Usually prime lens are faster (get more light) than a zoom lens so you will be able to get better low quality pictures in low light conditions (indoors for example). You will gain in portability as well.
6. Get out of the beaten path
Get out of the beaten path will not only allow to get unique shots but also sometime to get better people photography shots. The element of surprise can in this case works for you.
Who will guess this picture was taken in Yangon in Myanmar one the biggest city in the world?
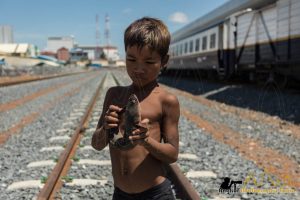
I certainly did not expect meeting a kid holding a live fish on the train tracks near Poipet in Cambodia
7. When shooting, few centimeters can make a big differences
It is not only about the mm of the focal but also the cm on the ground. moving only few centimeters can change dramatically the outcome of a picture especially in a place with many people.

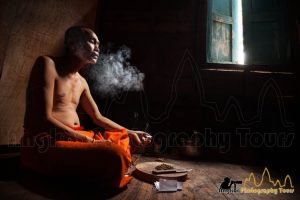
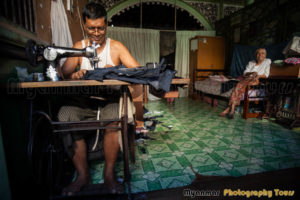
8. Follow the light
A good light is what will make sometime the difference a killer shot and a ok shot. For landscape photography, the best pictures are generally taken after sunrise or before sunset at the so called golden hour.
For indoor pictures hours are a bit more flexible but following the light as well is a good advice.